 Save
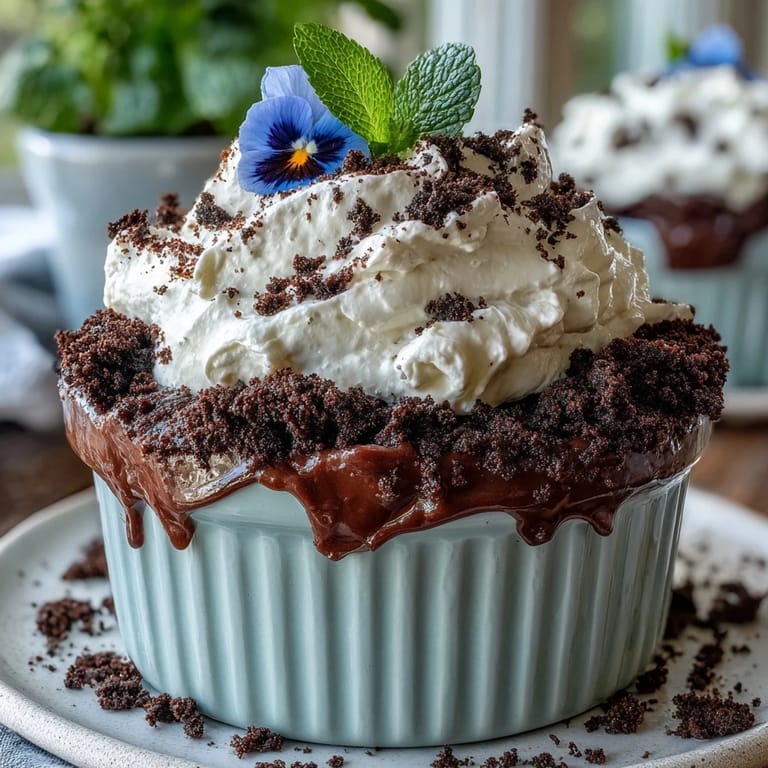
Save Every once in a while, a simple baking project transforms the kitchen into something straight out of a storybook. The first time I saw brownies served in tiny flower pots, I burst out laughing—the cheerful confusion of dessert disguised as a garden bed was impossible to resist. The swirl of chocolate and crushed cookie “dirt” instantly reminded me of springtime surprises and the joy of making edible crafts. The best part is, you get to decorate these however you like, which somehow always leads to giggling fits and sticky fingers. These are as delightful to build as they are to eat, and they never fail to charm anyone on Mother’s Day.
One spring, my niece and I decided to surprise my mom with these brownie pots, and by the end, our kitchen looked like a chocolate whirlwind had passed through. We debated over which flowers looked prettiest—pansies or sugar violets—while sneaking more than a few spoonfuls of whipped cream. It felt less like baking and more like a playful art project, with brownie batter smudges and crumbled Oreos everywhere. The best part was the look on Mom’s face when she realized those “garden pots” were entirely edible. Memories like that have turned these brownies into an annual tradition.
Ingredients
- Unsalted butter: Melting the butter gently helps create a dense, fudgy brownie texture—don’t rush this part unless you like chewy edges.
- Granulated sugar: I’ve found regular white sugar brings out the cocoa flavor without overpowering it.
- Large eggs: Room temperature eggs blend more easily, so I set them out beforehand when I remember.
- All-purpose flour: Sifting ensures a smoother batter, especially for such a small batch.
- Unsweetened cocoa powder: The higher quality cocoa, the deeper the chocolate flavor; I always splurge a bit here if I can.
- Baking powder: Just a touch gives lift but keeps the brownies rich.
- Salt: A pinch is all it takes to balance out the sweetness.
- Vanilla extract: I once forgot it, and the brownies weren’t the same—the floral aroma lifts the chocolate beautifully.
- Oreo cookies: Crushing them with the filling gives the “dirt” its rich, slightly gooey texture.
- Heavy cream: Chill your bowl and beaters first; it really helps the cream whip up quickly.
- Powdered sugar: Just enough to sweeten the whipped cream without making it too stiff.
- Edible flowers or colorful gummies: These little touches are what turn brownies into a spring garden—just make sure the flowers are safe to eat.
- Fresh mint leaves (optional): Adds a fresh pop of color, and mint smells wonderful perched above the “soil.”
Tired of Takeout? 🥡
Get 10 meals you can make faster than delivery arrives. Seriously.
One email. No spam. Unsubscribe anytime.
Instructions
- Get the oven and pots ready:
- Crank the oven to 175°C and prep your mini flower pots by lining them with parchment; if using a tray, just line as usual.
- Melt and blend:
- In a saucepan, melt the butter on low—patience here avoids burning—then whisk in the sugar and vanilla while the mix is still warm.
- Incorporate eggs:
- Crack in the eggs, adding one at a time, whisking gently until the mixture turns glossy and smooth.
- Combine dry ingredients:
- Sift together the flour, cocoa, baking powder, and salt, then fold these into the wet mix until just barely blended.
- Bake into pots or tray:
- Spoon the batter evenly among six flower pots or spread in your pan, smoothing the tops for even baking.
- Bake and cool:
- Let them bake for 20–25 minutes until a toothpick comes out with a few clinging crumbs, then set aside to cool completely.
- Make the Oreo dirt:
- Crush Oreos (filling included) in a food processor or bag, enjoying the satisfying crackle as they break down to crumbs.
- Whip the cream:
- With cold equipment, beat cream and powdered sugar to stiff peaks—it should stand tall but not turn buttery.
- Assemble the pots:
- If you baked in a tray, cut the brownies to fit the base of your pots, gently tucking them in.
- Create the layers:
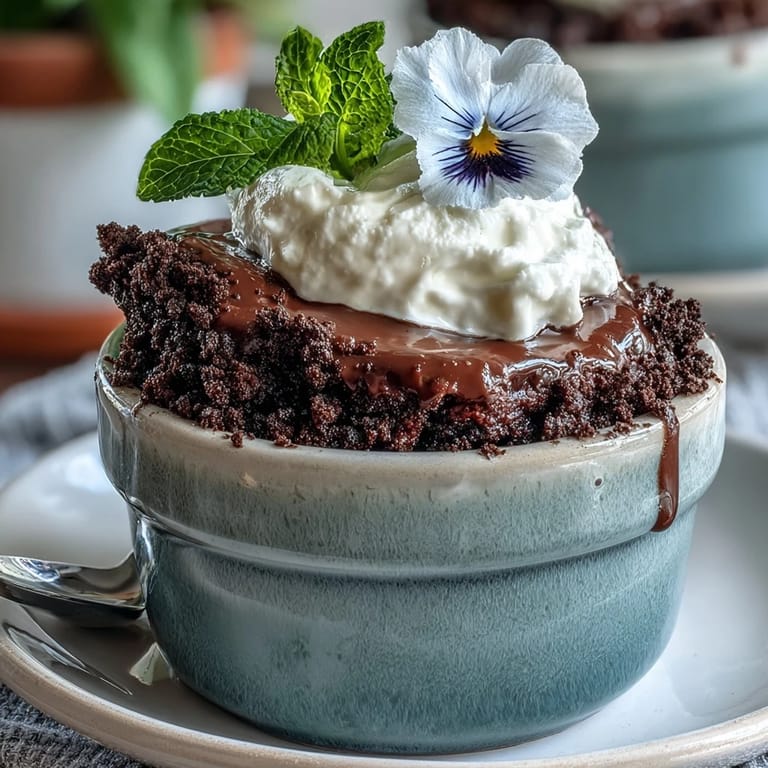
- Add a generous layer of whipped cream atop each brownie, then heap Oreo crumbs until they resemble soil.
- Decorate the garden:
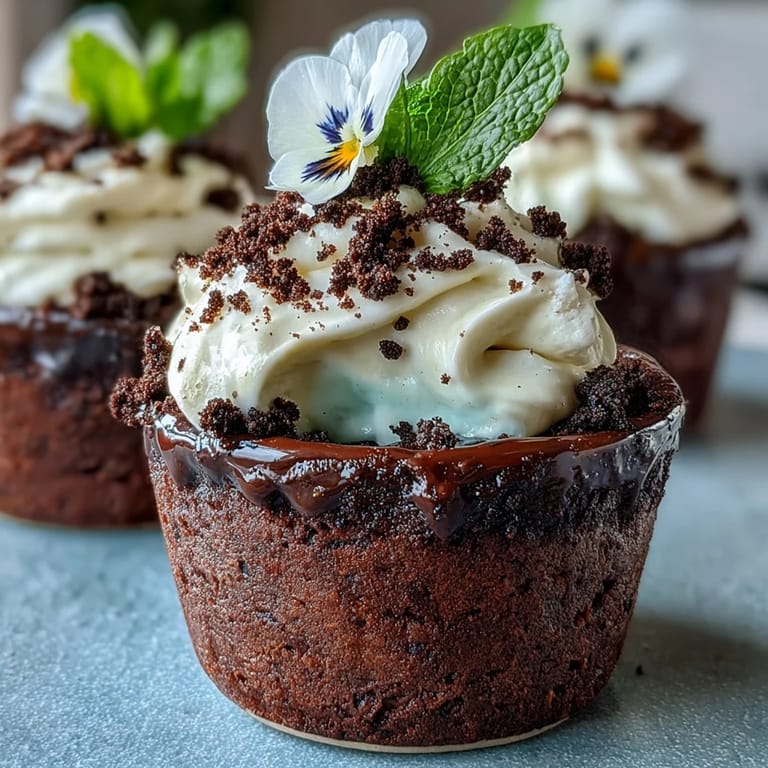
- Arrange edible flowers, gummy shapes, or mint leaves to make each pot uniquely yours.
- Chill and serve:
- Refrigerate the pots before serving so the layers stay distinct and refreshing when it’s finally dessert time.
 Save
Save When everyone sat down at the table, my little cousin took one look and asked if she could plant her gummy worms in the “soil”—suddenly, dessert turned into a mini gardening game. Sharing these flower pot brownies somehow always sparks laughter and conversation, and every person’s creation ends up looking a little different.
How to Pick and Prepare Edible Flowers
Tracking down edible flowers was part treasure hunt and part learning curve—I now always double check that mine are pesticide-free and grown for eating. Once home, I rinse them gently with cold water and let them dry on paper towels to keep their petals vibrant and fresh.
Creative Assembly Ideas
Don’t worry about picture-perfect decorating—half the fun is letting these brownies become wildly unique. Sometimes we use rainbow gummies, sometimes just sprigs of fresh mint and simple pansies, depending on what’s on hand.
Troubleshooting Flower Pot Brownies
It took a few tries before the brownies came out just the right height for the pots—shaving off the tops with a serrated knife helps them sit flat for layering.
- Let the brownies cool completely before you even think about assembling.
- If in doubt, crush a few extra Oreos for more generous “soil.”
- Always double-check that your flower pots or ramekins are labeled oven-safe before baking.
 Save
Save There’s something special about serving dessert disguised as a garden—no one forgets it. However you decorate them, these brownies guarantee smiles and just a little bit of wonder.
Recipe FAQ
- → How long should I bake the brownies in mini flower pots?
Bake at 175°C (350°F) for about 20–25 minutes. Check with a toothpick—expect moist crumbs rather than a completely dry stick. Smaller pots may need less time; watch closely after 18 minutes.
- → Can I bake in a sheet pan and transfer to pots?
Yes. Bake in a lined pan, cool fully, then cut rounds or squares to fit the pots. This is often easier if you don’t have oven-safe flower pots.
- → How do I keep the whipped cream stable?
Use very cold cream and a chilled bowl, whip to stiff peaks, and add the powdered sugar. For longer hold, fold in a spoonful of mascarpone or use a quick gelatin stabilizer (bloom gelatin in water, melt and cool slightly before whisking in).
- → Are all edible flowers safe to use?
Only use flowers labeled as food-safe from reputable sources; avoid flowers from florists treated with pesticides. Popular safe choices include violets and pansies—wash gently and pat dry before decorating.
- → Can I prepare these ahead of time?
You can bake brownies and make Oreo crumbs a day ahead. Whip the cream just before assembly for best texture, or stabilize as mentioned and assemble a few hours ahead. Store assembled pots chilled and bring to room temperature briefly before serving if desired.
- → What substitutions work for dietary needs?
Use gluten-free sandwich cookies for the dirt and a dairy-free whipped topping or coconut cream for vegan/dairy-free options. A boxed brownie mix or added nuts or chocolate chips are easy swaps to vary texture and flavor.