 Save
Save A fun and festive DIY hack to create a striking peppermint candy bowl—perfect as a holiday gift or party centerpiece. This edible bowl is made entirely from peppermint candies and requires no baking!
This project was a hit at our last holiday party bringing smiles and a sweet centerpiece everyone admired.
Ingredients
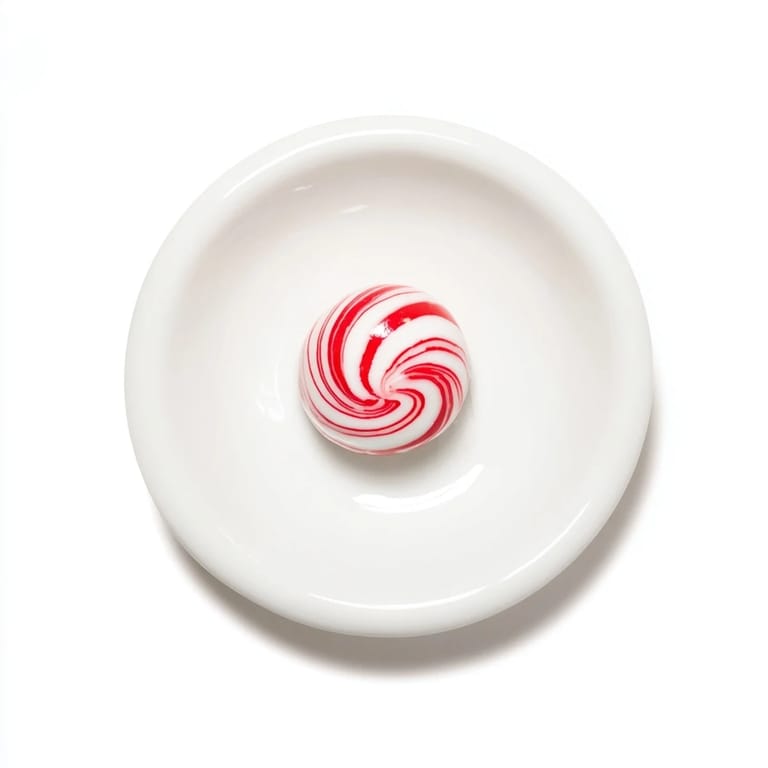
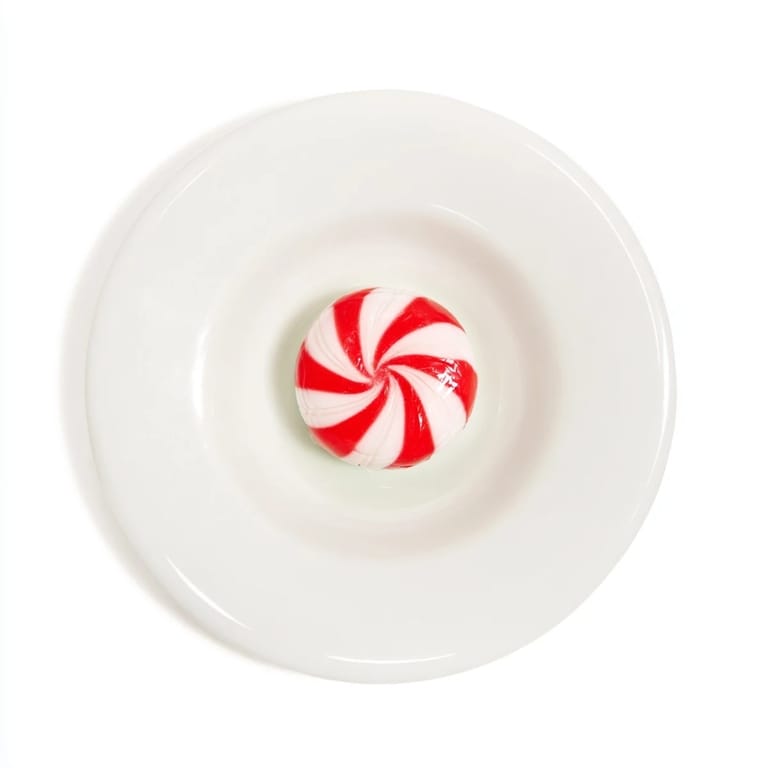
- Candy: 40–50 round peppermint hard candies (unwrapped)
Tired of Takeout? 🥡
Get 10 meals you can make faster than delivery arrives. Seriously.
One email. No spam. Unsubscribe anytime.
Instructions
- Step 1:
- Preheat your oven to 300°F (150°C)
- Step 2:
- Line a baking sheet with parchment paper or a silicone baking mat
- Step 3:
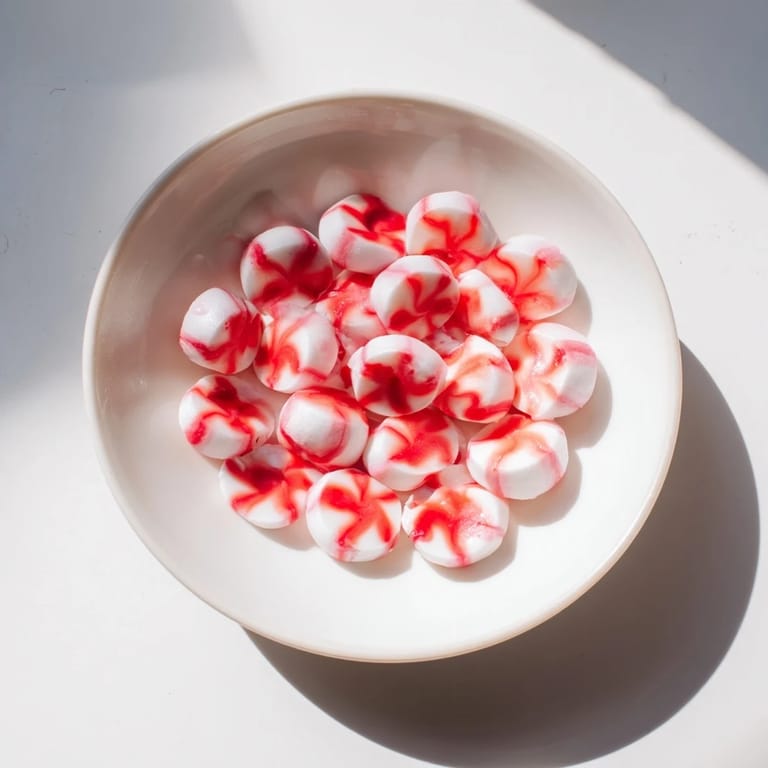
- Arrange the peppermint candies in a tight circular pattern (about 7–8 diameter) on the parchment ensuring edges touch but do not overlap
- Step 4:
- Place the baking sheet in the oven and heat for 6–8 minutes watching closely Remove when candies have melted together but before they bubble or brown
- Step 5:
- Let cool for 30 seconds then while pliable quickly drape the melted candy disc (parchment side up) over an inverted heatproof bowl to form a bowl shape Gently mold with oven mitts if needed
- Step 6:
- Allow the bowl to cool completely and harden (about 10 minutes) then carefully remove the parchment and lift the candy bowl off the mold
- Step 7:
- Fill with treats or wrap for gifting
 Save
Save My family loved watching the candy transform and enjoyed eating from the bowl after the party
Notes
Use colored peppermint candies or mix in spearmint for extra flair Use cellophane wrap for gifting and to prevent the bowl from sticking to surfaces
Required Tools
Baking sheet Parchment paper or silicone baking mat Heatproof mixing bowl (for shaping) Oven mitts
Allergen Information
Contains None of the major allergens (verify candy ingredients some brands may process in facilities with nuts or dairy) Always double-check candy labels for allergens or gluten if needed
 Save
Save This peppermint candy bowl is a sweet holiday DIY that combines craft and treat in one delightful creation
Recipe FAQ
- → How do I shape the peppermint candy into a bowl?
After melting the candies into a disk, quickly drape the pliable candy over an inverted heatproof bowl and gently mold it with oven mitts until cooled and hardened.
- → What type of peppermint candies work best?
Round, unwrapped peppermint hard candies melt evenly and form a smooth bowl; avoid candies with coatings that may affect melting.
- → Can I use colored peppermint candies?
Yes, mixing in colored peppermint candies adds festive flair and a unique look to the final bowl.
- → How long does it take for the candy bowl to harden?
Once shaped, the bowl typically hardens in about 10 minutes at room temperature.
- → What should I use to prevent the candy from sticking when shaping?
Line the baking sheet with parchment paper or a silicone mat and ensure the candy disk is removed while still pliable to prevent sticking.