 Save
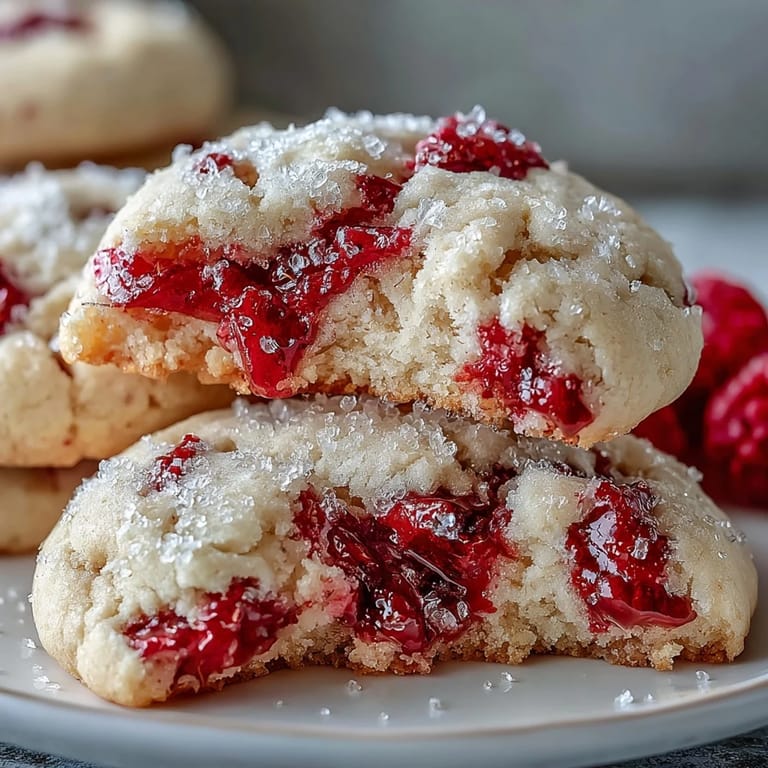
Save The kitchen was already warm when my roommate Sarah burst through the door with two overflowing pint containers of raspberries she'd scored at the farmers market. We'd been planning a weekend baking marathon, but those berries were so fragrant and delicate that I pivoted on the spot. These cookies emerged from that happy accident, transforming our excess fruit into something magical that we ate warm from the oven while watching rain streak the windows.
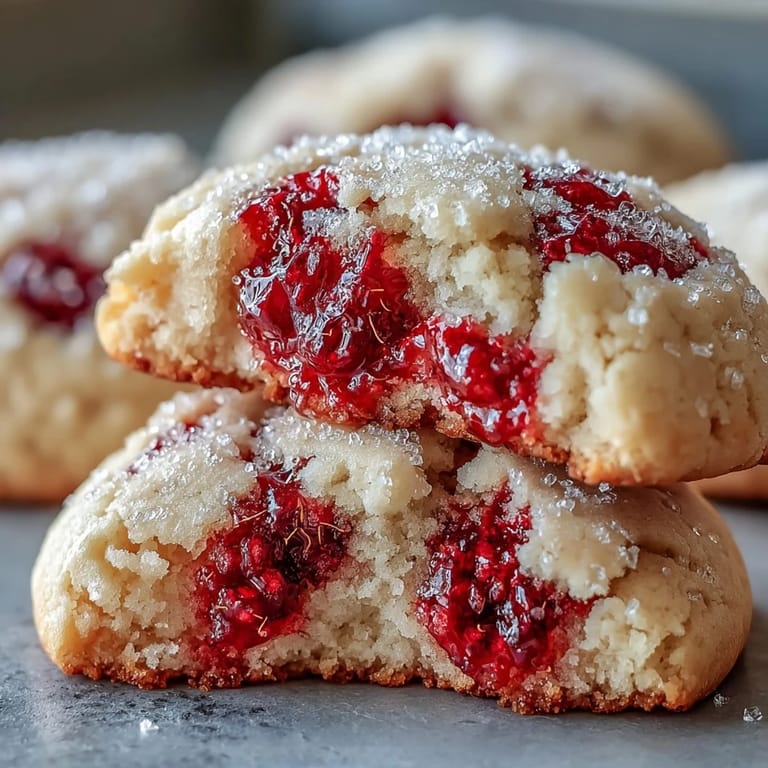
I made these again for a friends birthday last summer, and honestly, I ate three while photographing them for her. The way the juices from the berries create pockets of tender crumb throughout the cookie, well, I had to quality test thoroughly before serving. Every single person asked for the recipe, which is usually my benchmark for whether something goes into the permanent rotation.
Ingredients
- 1 cup unsalted butter, softened: Room temperature butter is crucial here because it needs to grab onto those sugar crystals during creaming for maximum lift
- ¾ cup granulated sugar and ¾ cup light brown sugar: Using both sugars gives you crisp edges from the white sugar and chewy centers from the brown
- 2 large eggs: Bring these to room temperature too so they incorporate evenly instead of seizing up the butter
- 2 teaspoons vanilla extract: Do not skimp here because vanilla bridges the gap between the buttery dough and bright berries
- 2 ¾ cups allpurpose flour: I measure by spooning flour into the measuring cup and leveling off, never scooping directly which packs it down
- 2 tablespoons cornstarch: This little trick makes cookies softer and more tender by interfering with gluten formation
- 1 teaspoon baking powder and ½ teaspoon baking soda: Both leavening agents work together to give these cookies their pillowy rise
- ½ teaspoon salt: Salt intensifies all the flavors and keeps these from tasting cloyingly sweet
- 1 cup fresh raspberries: Handle these gently and pat them completely dry so they do not turn your dough pink
- ¼ cup granulated sugar and 2 tablespoons crushed freeze dried raspberries: The coating is optional but absolutely worth it for that bakery finish
Tired of Takeout? 🥡
Get 10 meals you can make faster than delivery arrives. Seriously.
One email. No spam. Unsubscribe anytime.
Instructions
- Set yourself up for success:
- Preheat your oven to 350°F and line two baking sheets with parchment paper. Pull out all your ingredients and let everything come to room temperature while you prep.
- Whisk the dry foundation:
- In a medium bowl, combine the flour, cornstarch, baking powder, baking soda, and salt. Whisk them together thoroughly so there are no clumps of baking powder hiding anywhere.
- Cream butter and sugars until pale and fluffy:
- Beat the softened butter with both sugars on medium speed for 3 to 4 minutes. Seriously, let it go until the mixture looks almost like frosting and has lightened in color significantly.
- Add eggs one at a time:
- Reduce your mixer speed to low and drop in each egg individually. Let the first one fully incorporate before adding the second, scraping down the bowl between additions.
- Blend in the vanilla:
- Pour in your vanilla extract and mix until combined. This is when the dough starts smelling like an actual cookie, which is always the moment I get excited.
- Fold in the dry mixture gradually:
- With the mixer on low, add the flour mixture in three parts. Stop mixing the instant you no longer see streaks of flour because overmixing creates tough cookies.
- Gently incorporate those precious raspberries:
- Fold the fresh raspberries in by hand using a spatula, being careful not to crush them. You want whole berry pockets throughout the dough, not raspberry swirl.
- Prepare the sparkly coating:
- Mix the ¼ cup sugar with crushed freeze dried raspberries in a small bowl. If you are not using freeze dried berries, just roll them in plain sugar.
- Scoop, roll, and coat:
- Use a 1.5 tablespoon cookie scoop to portion dough, roll between your palms to smooth, then roll in the sugar mixture until evenly coated.
- Bake until barely set:
- Place dough balls 2 inches apart on your prepared baking sheets. Bake for 10 to 12 minutes, removing them when edges look firm but centers still seem slightly underbaked.
- The hardest part is waiting:
- Let the cookies rest on the hot baking sheet for exactly 5 minutes. They finish cooking and set up during this crucial cooling window before you move them to a wire rack.
 Save
Save My mom now requests these specifically for her birthday instead of cake, which might be the highest compliment a cookie can receive. Last year I made a double batch and froze half, pulling them out to bake fresh whenever we had unexpected guests, which made me feel like a domestic wizard.
Getting The Texture Just Right
The cornstarch in this recipe is not optional if you want that signature pillowy chew. I learned this technique from a bakery cook who told me it softens the protein structure in the flour, creating a more tender crumb that resists becoming hard or crispy even after a few days. Do not be tempted to skip it or substitute with more flour because the texture will noticeably suffer.
Making Ahead And Storage
These cookies actually benefit from a short rest in the refrigerator before baking, so you can scoop the dough balls, roll them in sugar, and refrigerate on the baking sheet for up to 24 hours. This rest period helps the flour hydrate fully and gives the raspberries time to release some of their juices, which creates those beautiful pockets of tender crumb. Store baked cookies in an airtight container for up to 4 days, or freeze unbaked dough balls for freshly baked cookies whenever the craving strikes.
Raspberry Variations And Substitutions
If fresh raspberries feel too delicate or are out of season, try substituting ¾ cup crushed freeze dried raspberries mixed directly into the dough. This gives you intense raspberry flavor and a pretty pink hue without excess moisture that can make cookies spread too much. You can also swirl a teaspoon of raspberry jam into each dough ball before rolling in sugar for pockets of concentrated berry brightness.
- Try this same method with blueberries or chopped strawberries when raspberries are not available
- Lemon zest added to the dough pairs beautifully with the raspberry flavor profile
- A pinch of almond extract instead of half the vanilla creates a classic berry almond combination everyone loves
 Save
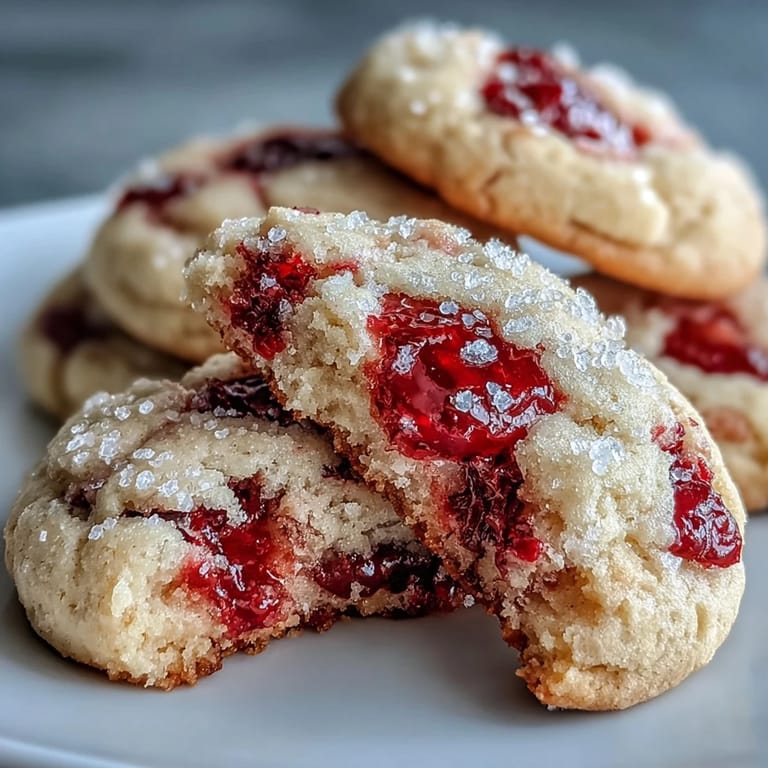
Save These raspberry sugar cookies have become my go-to for bringing to gatherings because they look stunning but do not require any special decorating skills. Everyone assumes they came from a bakery, which I will happily take credit for while secretly knowing how simple they really are to make.
Recipe FAQ
- → How can I prevent my cookies from spreading too much?
Ensure your butter is softened, not melted, and consider chilling the dough for at least 30 minutes before baking. Chilled dough helps the cookies hold their shape better in the oven.
- → Can I use frozen raspberries instead of fresh?
Yes, you can. However, fresh raspberries are recommended as frozen ones can add excess moisture. If using frozen, do not thaw them completely; add them to the dough still frozen and expect a slightly wetter dough or a slight color bleed.
- → What's the best way to store these cookies?
Store these cookies in an airtight container at room temperature for up to 4 days to maintain their softness and chewiness. They can also be frozen for up to 3 months.
- → Can I adjust the raspberry flavor?
Absolutely! For an extra boost, swirl a teaspoon of raspberry jam into each dough ball before rolling in the sugar coating. You can also mix crushed freeze-dried raspberries directly into the dough.
- → My cookies turned out hard, what went wrong?
Overmixing the dough, especially after adding flour, can lead to tough cookies. Also, baking them for too long will dry them out. Watch for edges to be set and centers slightly underbaked, then let them finish setting on the hot baking sheet.
- → What makes these cookies so chewy?
The combination of brown sugar, which adds moisture, and cornstarch contributes to the tender, chewy texture. Not overbaking is also key to keeping them soft.