 Save
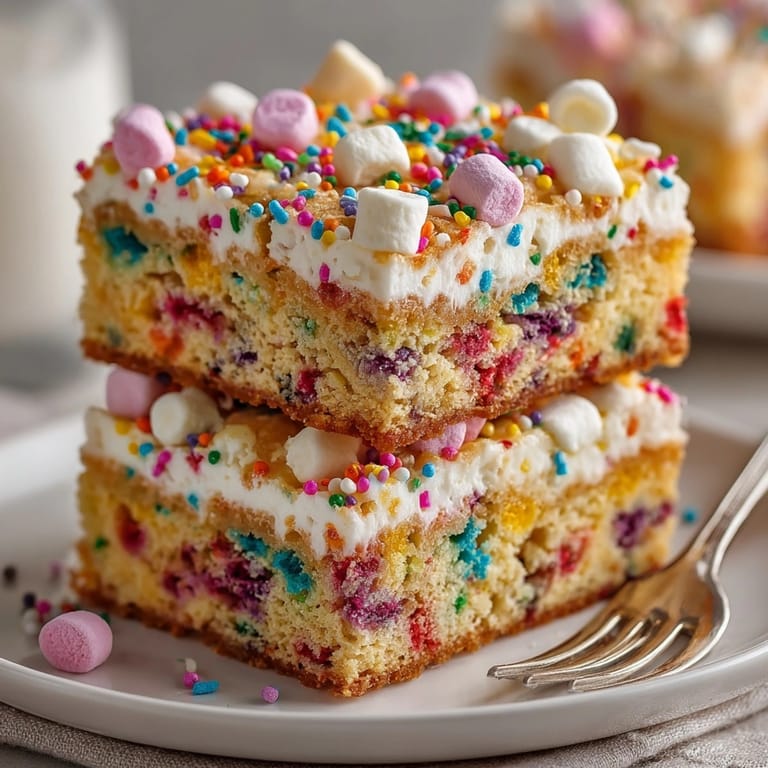
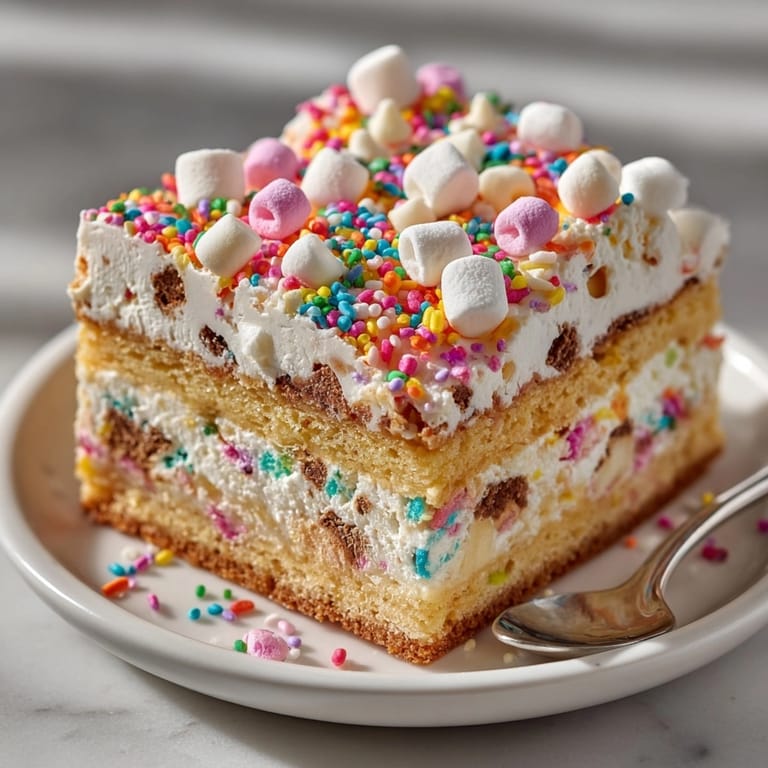
Save This riotously colorful dessert bar has been my secret weapon for turning ordinary gatherings into instant celebrations. The combination of cake batter flavor, chewy texture, and rainbow sprinkles creates a dessert that's as fun to eat as it is to look at—perfect for birthdays, holidays, or anytime you need a colorful pick-me-up.
I first created these bars for my niece's surprise party when I was short on time but wanted something festive. The look on her face when she bit into that first sprinkle-filled square convinced me these needed to become a staple in my dessert rotation.
Ingredients
- All purpose flour: creates the perfect sturdy yet tender base for these loaded bars
- Granulated sugar: provides just the right sweetness without overpowering the cake flavor
- Baking powder and baking soda: work together to create that perfect rise and texture
- Unsalted butter: adds richness and that characteristic chewy edge everyone fights over
- Sour cream: is my secret ingredient that keeps these bars incredibly moist for days
- White chocolate chips: melt into little pockets of creamy sweetness throughout each bite
- Rainbow sprinkles: use the longer jimmies type as they hold their color and shape better when baked
- Dry cake mix: adds that distinctive birthday cake flavor that makes these bars special
- Mini marshmallows: create gooey sweet spots on top that brown beautifully in the oven
Tired of Takeout? 🥡
Get 10 meals you can make faster than delivery arrives. Seriously.
One email. No spam. Unsubscribe anytime.
Instructions
- Prepare Your Pan:
- Line your 9x9 baking pan with parchment paper leaving those overhanging edges. This step seems simple but is crucial for easy removal later. I like to spray a tiny bit of cooking spray first so the parchment sticks to the pan without sliding around while I pour in the batter.
- Mix Dry Ingredients:
- Whisk together your flour, sugar, baking powder, baking soda, and salt until thoroughly combined. Take an extra 30 seconds here to make sure everything is evenly distributed—this prevents any bitter baking soda pockets in your final bars.
- Combine Wet Ingredients:
- In a separate bowl, whisk together the melted butter, eggs, vanilla, milk, and sour cream until completely smooth. The mixture should look glossy and uniform. Make sure your melted butter has cooled slightly so it doesn't cook the eggs when added.
- Create The Batter:
- Pour the wet ingredients into the dry and fold gently with a spatula just until no dry streaks remain. Overmixing here will develop too much gluten and make your bars tough rather than tender. About 10-12 gentle folds should do it.
- Add The Fun Stuff:
- Carefully fold in the white chocolate chips, sprinkles, and dry cake mix with just a few strokes. The less you mix, the more beautiful marbling of colors you'll get in the final bars. Some streaks of cake mix are actually desirable for flavor pockets.
- Top And Bake:
- Spread the thick batter evenly in your prepared pan, taking care to push it into the corners. Scatter the marshmallows and additional sprinkles over the top, pressing them in just slightly so they stick. Bake until the edges turn golden and pull away from the sides slightly.
- Cool Completely:
- This is the hardest part but absolutely necessary. The bars need to set up fully before cutting, which takes about 1-2 hours. Cutting too soon will give you a gooey mess rather than clean, beautiful bars.
 Save
Save I always make a double batch of these bars and freeze half for dessert emergencies. My daughter once requested these for her classroom birthday treat, and I was able to pull them out of the freezer the night before. Her teacher later called to ask for the recipe, saying they were the most requested birthday treat she'd seen in 15 years of teaching.
Storage Tips
These colorful bars stay fresh at room temperature for about 4 days when stored in an airtight container. The key is letting them cool completely before storing them. If you live in a particularly humid environment, place a piece of bread in the container to absorb excess moisture and keep the bars from getting soggy.
For longer storage, wrap individual bars in plastic wrap, then place in a freezer bag. When you're ready to enjoy, thaw at room temperature for about an hour. The texture remains remarkably consistent even after freezing.
Creative Variations
Turn these bars into ice cream sandwiches by cutting them slightly smaller and sandwiching a scoop of vanilla ice cream between two pieces. Freeze until firm for a show-stopping dessert.
Create seasonal variations by changing up your sprinkle colors think red and green for Christmas, pastels for Easter, or team colors for game day celebrations. The base recipe stays the same, but the look completely transforms.
For a chocolate lover's version, substitute half the white chocolate chips with mini chocolate chips and add 2 tablespoons of cocoa powder to the dry ingredients. The contrast with the rainbow sprinkles becomes even more dramatic.
Serving Suggestions
While these bars are perfect on their own, they reach new heights when slightly warmed and topped with a scoop of quality vanilla ice cream. The contrast between the warm, chewy bar and cold, creamy ice cream creates a textural masterpiece.
For an elegant plated dessert, place a bar on a dessert plate, add a dollop of freshly whipped cream, and garnish with additional sprinkles and a mint leaf. A light dusting of powdered sugar adds a professional touch.
These bars also make excellent gifts. Stack 3-4 bars, wrap in parchment paper, tie with baker's twine, and attach a handwritten note. I've brought these as hostess gifts countless times, and they always receive rave reviews.
 Save
Save Success Stories
These chaotic little bars have become legendary at our neighborhood block parties. What started as a simple dessert contribution has turned into an expected tradition. Last summer, when I brought something different, three separate neighbors asked where the 'sprinkle bars' were. I had to promise to make a double batch for the next gathering.
My teenage son, who typically shows little interest in baking, has mastered this recipe. He makes them for study groups and has even started experimenting with his own variations. His latest creation included crushed Oreos and a drizzle of chocolate ganache that was absolutely inspired.
The versatility of these bars makes them perfect for any occasion. I've served them at sophisticated dinner parties (cut into smaller, more elegant squares) and children's birthday parties alike. They somehow manage to delight every age group with their nostalgic cake batter flavor and irresistible texture.
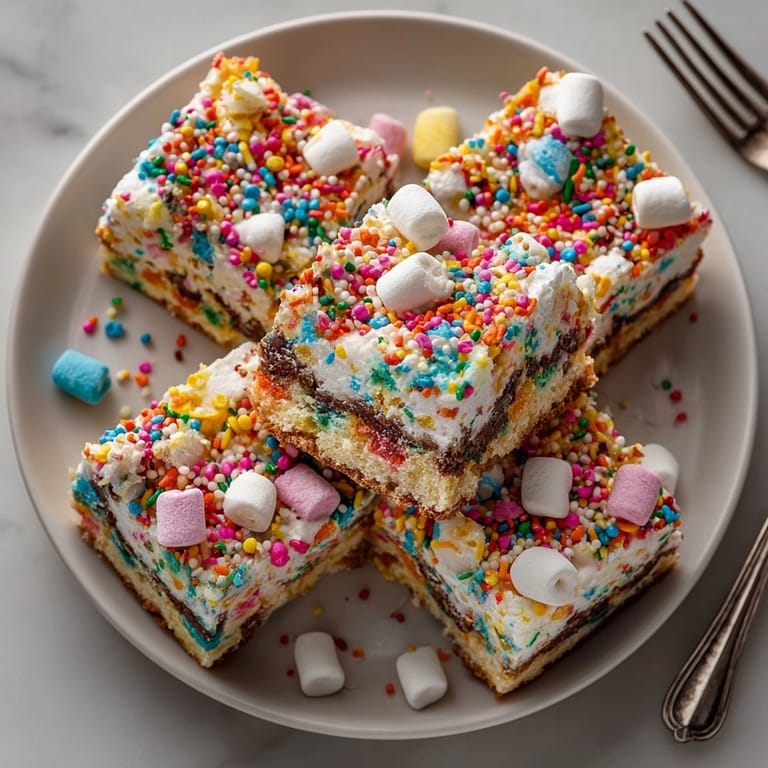
These bars are sure to be a hit at any event, offering vibrant colors and delicious flavors.
Recipe FAQ
- → Can I use a different cake mix flavor?
Yes, you can substitute another dry cake mix, like vanilla or funfetti, for a different twist while keeping the texture.
- → How should I store leftover bars?
Keep bars in an airtight container at room temperature for up to four days to maintain freshness and softness.
- → Are nonpareils the same as jimmies?
No, jimmies are the best choice for even color and melt resistance. Nonpareils may bleed color and affect texture.
- → Can I make these bars ahead of time?
Absolutely! Prepare and bake the bars up to two days ahead. They retain flavor and softness when properly stored.
- → What dietary restrictions should I note?
Bars contain wheat, eggs, milk, and possibly soy or nuts, depending on chocolate and sprinkle brands.
- → How do I know when the bars are done?
Bake until edges are golden and a toothpick inserted into the center comes out with a few moist crumbs.