 Save
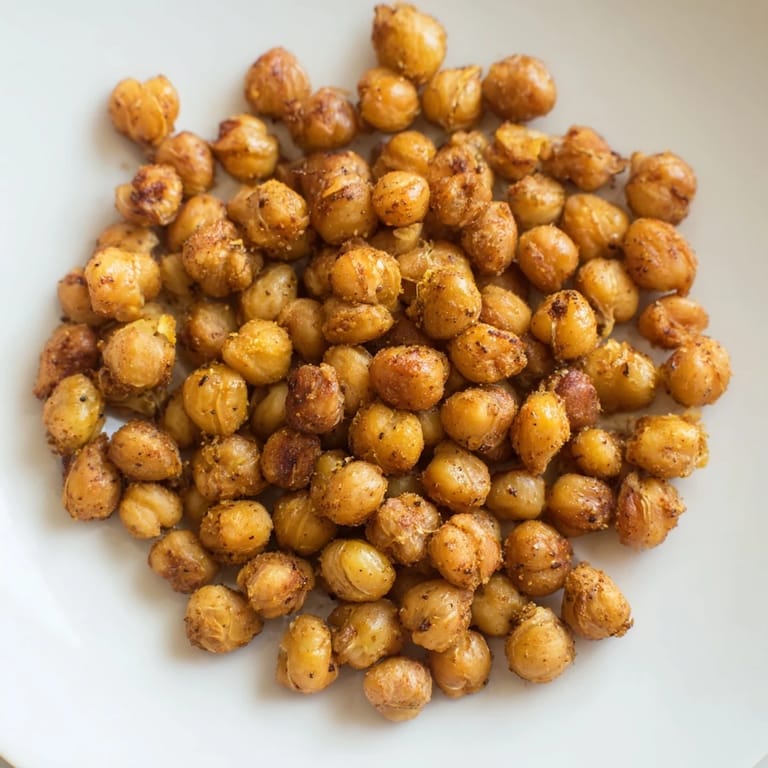
Save I discovered crispy chickpeas by accident on a Tuesday afternoon when I was hunting for something to eat between meetings and didn't want to resort to stale crackers. I had a can of chickpeas gathering dust in the pantry and wondered what would happen if I just roasted them with some olive oil and spices. Forty-five minutes later, my kitchen smelled incredible, and I had this addictive crunchy snack that tasted nothing like the mushy legume salads I'd been making for years. It was one of those happy kitchen mistakes that changed how I think about leftovers and pantry staples.
I brought a batch to a potluck where everyone was expecting the usual dips and cheese boards, and they disappeared within twenty minutes. My friend Sarah asked for the recipe immediately, which felt ridiculous to admit because it's literally just roasted chickpeas, but that's exactly why I loved making it—something so simple that people genuinely enjoyed eating.
Ingredients
- Chickpeas (1 can, 400g drained and rinsed): The star of the show, and they're already cooked, so you're just crisping them up in the oven.
- Olive oil (2 tbsp): This is what turns them from soft to snappy, so don't skimp or use something light.
- Sea salt (1/2 tsp): Brings out the nuttiness that chickpeas have hiding underneath.
- Smoked paprika (1/2 tsp): Adds a gentle smoky depth without overpowering anything.
- Ground cumin (1/2 tsp): This is the warm spice that makes people ask what the secret ingredient is.
- Garlic powder (1/4 tsp): A pinch goes a long way and rounds out the savory notes.
- Black pepper (1/4 tsp): The finishing touch that brings brightness to the whole thing.
- Cayenne pepper (1/4 tsp, optional): If you like heat, this gives a gentle kick without harsh spice.
- Nutritional yeast (1 tbsp, optional): Makes them taste almost cheesy in a way that stops people mid-chew.
Tired of Takeout? 🥡
Get 10 meals you can make faster than delivery arrives. Seriously.
One email. No spam. Unsubscribe anytime.
Instructions
- Heat your oven:
- Set it to 200°C (400°F) and let it fully preheat while you prep. Line a baking sheet with parchment paper so nothing sticks and cleanup is a breeze.
- Dry those chickpeas completely:
- Pat them down with a clean kitchen towel like you're getting them ready for something important—because you are. The drier they are, the crunchier they'll become, so don't rush this step.
- Toss with oil and spices:
- In a large bowl, combine your drained chickpeas with the olive oil and all your seasonings. Stir until every single chickpea is coated in that golden, fragrant oil.
- Spread them out single layer:
- Pour them onto your prepared baking sheet in one layer, trying not to overlap too much. This matters because they need room to breathe and crisp evenly.
- Roast and shake:
- Pop them in the oven for 35 minutes, but here's the trick: shake the pan or stir them every 10 minutes. This ensures nothing burns on the bottom and everything gets equally golden and crunchy.
- Cool and crisp up:
- When they come out of the oven, they might still feel slightly tender, but they'll firm up completely as they cool. Resist the urge to eat them immediately—give them at least five minutes.
 Save
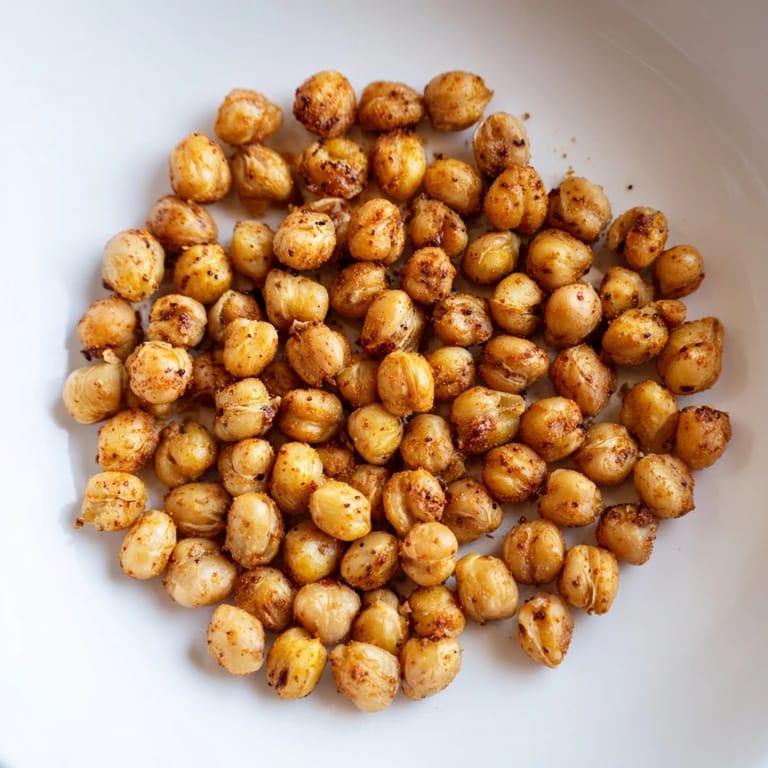
Save The moment that sealed it for me was when my partner came home, heard the sound of me crunching through a handful, and immediately asked if we could make a double batch next time. It's rare that something this healthy actually tastes like the kind of snack you crave.
Flavor Combinations to Try
Once you've made the basic version, the real fun begins. I've roasted batches with curry powder and a pinch of salt for something warm and complex, and other times I've gone the Italian route with dried oregano, basil, and a squeeze of lemon zest tossed on after cooling. The structure stays the same—just swap the spices and let your mood guide you. Each variation takes the same 45 minutes but feels like a completely different snack.
Storage and Keeping Them Fresh
Store your cooled chickpeas in an airtight container at room temperature, and they'll stay crispy for up to three days. If they somehow soften before you finish them, pop them back in a 180°C oven for five minutes to revive the crunch. I've also learned that keeping them in something breathable like a paper bag actually works better than plastic if you're keeping them longer than a day, since moisture builds up in sealed containers and softens them over time.
Why This Became My Go-To Snack
What I love most is how unintimidating this recipe is—you literally cannot mess it up if you follow the rhythm of shaking the pan and let time do the work. It's also one of those recipes where the cost per serving is almost nothing, the nutrition is genuine, and you never feel like you're settling for a healthy option because they taste exactly like what they are: perfectly roasted, perfectly seasoned, and honestly addictive.
- Make a big batch on Sunday and snack throughout the week without thinking twice about it.
- Toss them into salads for unexpected crunch or crumble them over grain bowls for texture.
- Keep the basic ratio in mind and you can double or triple the recipe without any real change to cooking time.
 Save
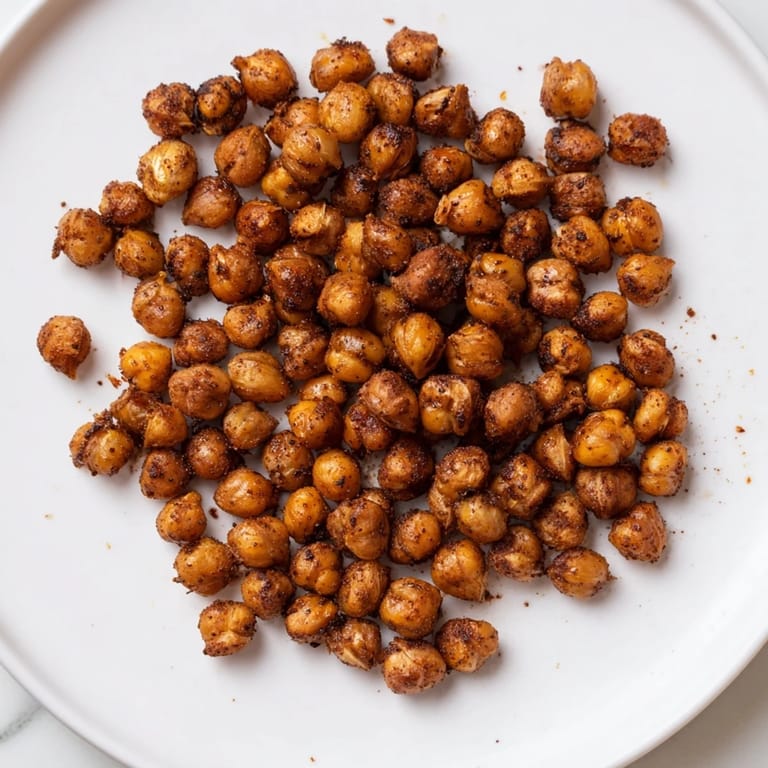
Save This snack proved to me that sometimes the best discoveries come from working with what you already have. Now whenever I pass the chickpea aisle, I grab a few cans knowing exactly what I'll turn them into.
Recipe FAQ
- → How do you achieve maximum crispiness with chickpeas?
Patting chickpeas dry before tossing them with oil and spices removes excess moisture, allowing them to roast evenly and crisp up nicely in the oven.
- → Can I use canned chickpeas for this snack?
Yes, canned chickpeas work well if thoroughly rinsed and dried to eliminate moisture, ensuring a crunchy final texture.
- → What spices pair well with roasted chickpeas?
Smoked paprika, cumin, garlic powder, sea salt, and black pepper create a savory base, while cayenne and nutritional yeast add heat and depth.
- → How should roasted chickpeas be stored?
Once fully cooled, store the chickpeas in an airtight container at room temperature to retain their crunch for up to three days.
- → What are some serving suggestions for crispy chickpeas?
Enjoy them as a standalone snack, salad topper, or mixed into grain bowls to add texture and protein.