 Save
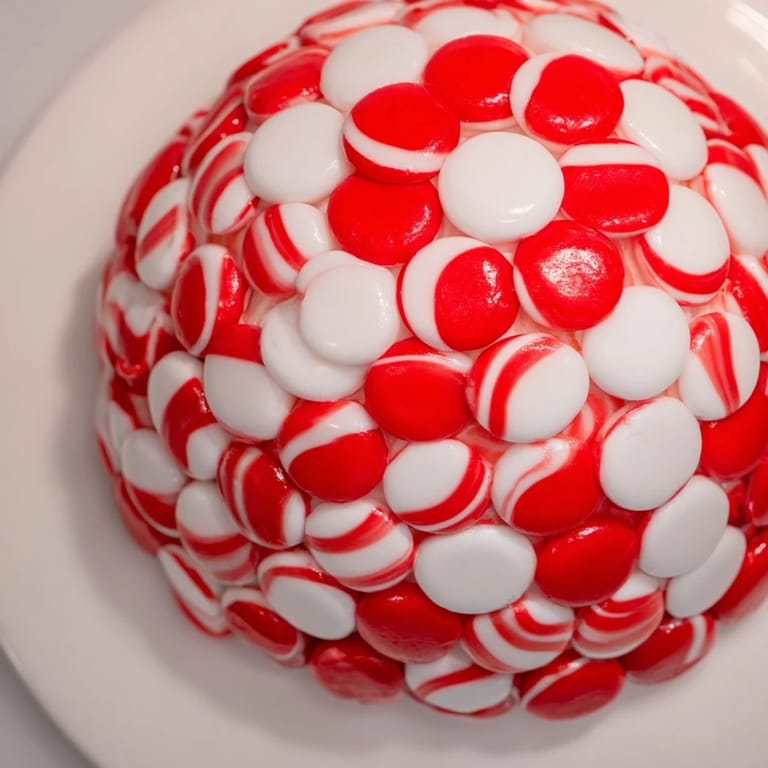
Save A festive and edible holiday bowl made entirely from peppermint candies—perfect for serving treats or gifting goodies, with no baking required.
I first made this candy bowl during a snowy weekend and it quickly became the centerpiece for our holiday snack table. Kids and adults loved the magic of turning simple peppermints into a functional bowl—now it's a tradition everyone looks forward to!
Ingredients
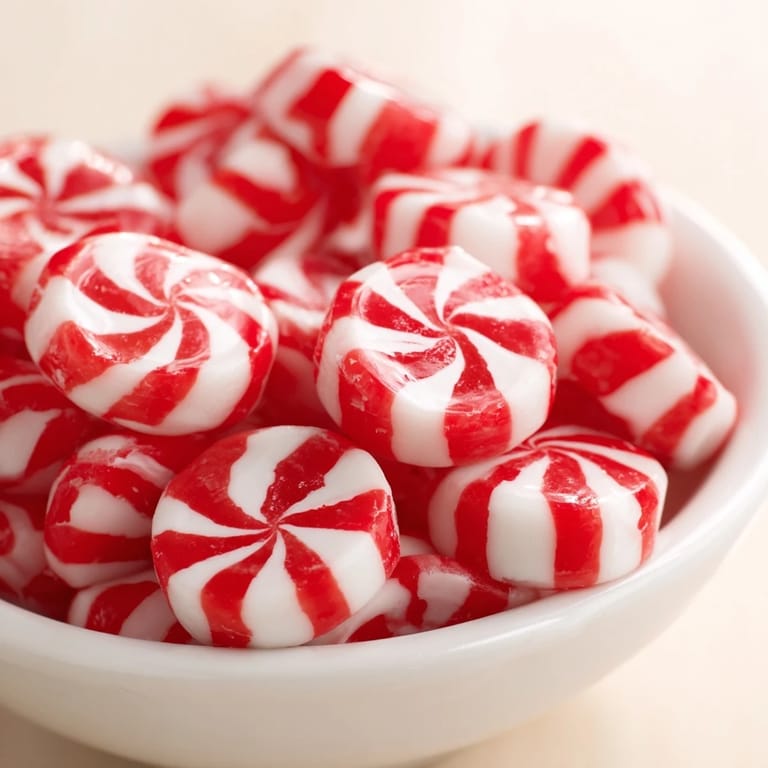
- Peppermint hard candies: 30–36 round, unwrapped
Tired of Takeout? 🥡
Get 10 meals you can make faster than delivery arrives. Seriously.
One email. No spam. Unsubscribe anytime.
Instructions
- Prep the Oven:
- Preheat your oven to 300°F (150°C).
- Prepare Tray:
- Line a baking sheet with parchment paper or a silicone baking mat.
- Arrange Candies:
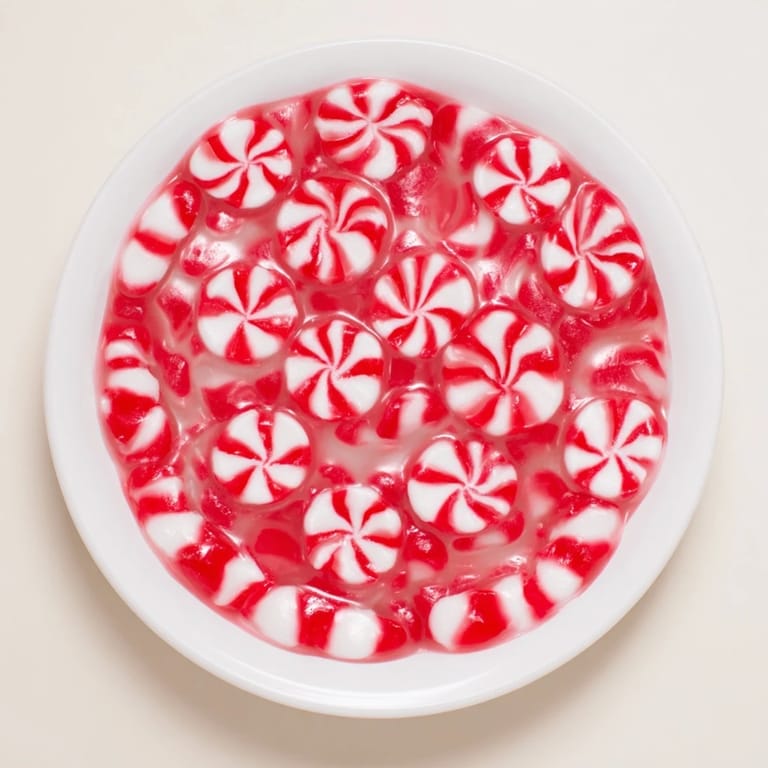
- Place the peppermint candies in a tightly packed circle on the prepared sheet, creating a disc roughly 8–9 inches in diameter. Make sure all edges touch.
- Bake and Watch:
- Bake for 7–9 minutes, keeping an eye on the candies. They should melt and fuse, but not brown.
- Cool Briefly:
- Let cool for 1 minute until the disc is pliable but safe to touch using mitts or gloves.
- Mold the Bowl:
- Invert a heatproof bowl upside down. Quickly lift the candy disc (with parchment) and drape over the bowl, pressing gently down the sides to shape.
- Set and Unmold:
- Hold for a few seconds, then let cool for 20 minutes. Carefully remove the peppermint bowl and peel off the parchment.
- Fill and Serve:
- Fill your candy bowl with treats and enjoy!
 Save
Save Each December, my family gathers to make these bowls and every year someone invents a new way to decorate their creation—a fun, edible art project that always ends with laughter and sweet treats shared together.
Required Tools
Baking sheet, parchment paper or silicone mat, oven, heatproof mixing bowl for shaping, and oven mitts or heat-resistant gloves.
Allergen Information
No top 8 allergens—always check candy packaging to confirm gluten and nut-free status.
Nutritional Information
Approx. per serving (1/8 bowl): 65 calories, 0g fat, 17g carbohydrates, 0g protein.
 Save
Save This homemade peppermint bowl always impresses guests and makes a delightful centerpiece—a simple, creative way to add holiday cheer to your table.
Recipe FAQ
- → What type of candies work best?
Round peppermint hard candies melt evenly and fuse well, creating a smooth, sturdy surface.
- → Can I use other candy flavors or colors?
Yes, mixing red, green, or fruit-flavored hard candies adds decorative variety and enhances the festive look.
- → How do I prevent the candy from burning?
Keep the oven temperature at 300°F (150°C) and watch closely during melting to avoid browning or burning.
- → What kind of bowl should I use as a mold?
Use a heatproof bowl about 6 inches in diameter, lightly greased if needed to ease removal.
- → How should I store the peppermint bowl?
Keep it in a cool, dry place to prevent stickiness caused by humidity and moisture.
- → Can the bowl hold moist items?
The candy bowl is best suited for wrapped candies, cookies, or dry treats; moist contents may soften the shape.