 Save
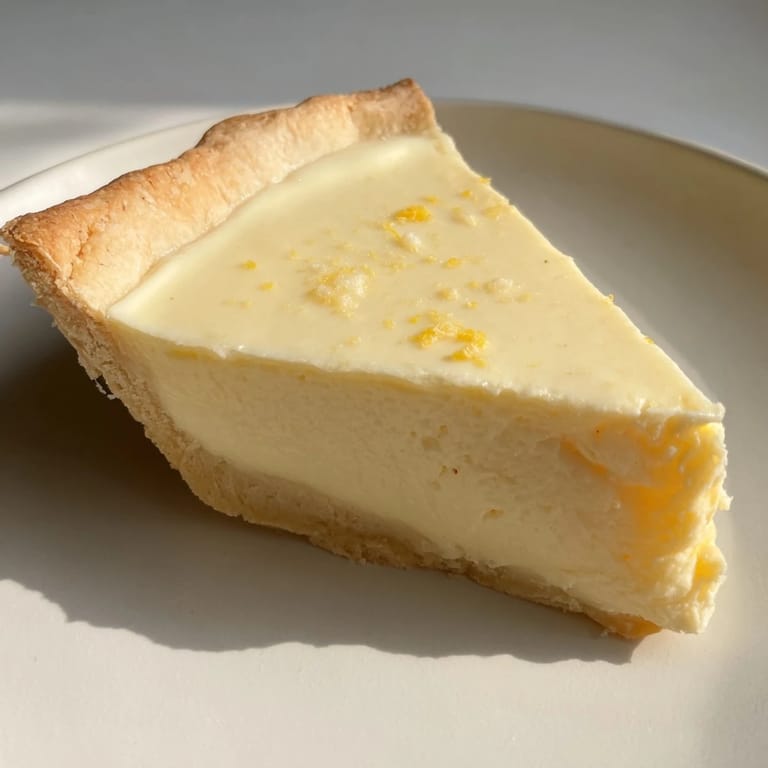
Save A vintage, surprisingly creamy pie made with pantry staples and minimal dairy, perfect for a light and comforting dessert.
I first discovered water pie while searching for easy desserts to make during a pantry clean-out. The gentle sweetness and custard-like filling reminded me of simpler times and family gatherings.
Ingredients
- Unbaked pie crust: 9-inch, store-bought or homemade
- Water: 1 1/2 cups (355 ml)
- All-purpose flour: 7 tablespoons (55 g)
- Granulated sugar: 3/4 cup (150 g)
- Salt: 1/4 teaspoon
- Unsalted butter: 2 tablespoons (28 g), cut into small pieces (use plant-based butter for dairy-free option)
- Vanilla extract: 1 teaspoon
Tired of Takeout? 🥡
Get 10 meals you can make faster than delivery arrives. Seriously.
One email. No spam. Unsubscribe anytime.
Instructions
- Prepare oven:
- Preheat the oven to 400°F (200°C).
- Prepare pie crust:
- Place the unbaked pie crust into a 9-inch pie plate and crimp the edges.
- Mix dry ingredients:
- In a small bowl, whisk together flour, sugar, and salt.
- Assemble filling:
- Evenly sprinkle the dry mixture into the pie crust.
- Add water:
- Slowly pour water over the dry ingredients in the crust, moisten all the flour and sugar.
- Add butter and vanilla:
- Do not stir. Dot the surface with butter pieces and drizzle vanilla extract over the top.
- Bake:
- Bake for 30 minutes, then reduce oven temperature to 375°F (190°C) and bake another 20 minutes, until the filling sets at edges but may jiggle in center.
- Cool and serve:
- Remove from oven and cool completely to room temperature, then refrigerate at least 2 hours before slicing.
 Save
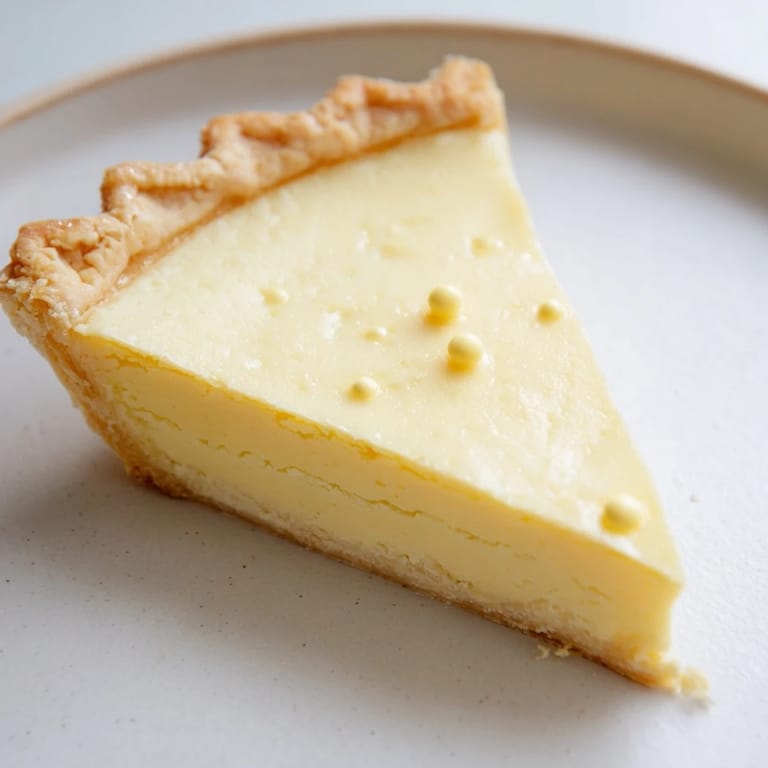
Save This pie brings back memories of my grandmother serving slices with fresh berries. It is still a favorite at family picnics for its simplicity and comforting flavors.
Required Tools
9-inch pie plate, mixing bowl, whisk, measuring cups and spoons, oven
Allergen Information
Contains wheat (gluten). Contains dairy (butter) unless using a plant-based substitute. Double-check crust ingredients for allergens.
Nutritional Information
Calories: 190, Total Fat: 6 g, Carbohydrates: 34 g, Protein: 2 g per serving
 Save
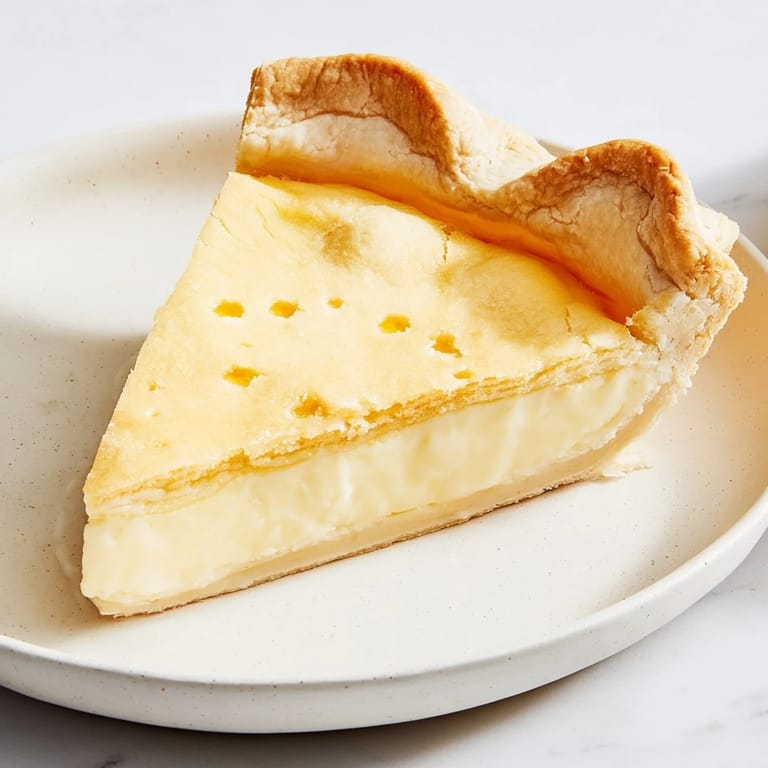
Save A slice of water pie is best enjoyed with loved ones. Keep leftovers covered and refrigerated for up to three days.
Recipe FAQ
- → What gives Water Pie its creamy texture?
The creamy texture comes from a simple custard-like filling made by baking a mixture of water, flour, sugar, and butter until it sets.
- → Can I make Water Pie dairy-free?
Yes, substitute plant-based butter in place of regular butter to keep the dish dairy-free without sacrificing flavor.
- → How do I know when the pie is fully baked?
Bake until the filling is set around the edges but still jiggles slightly in the center, then allow it to cool and chill to firm up.
- → What variations can enhance the flavor?
Adding a pinch of cinnamon or nutmeg before baking adds warm spice notes that complement the subtle sweetness.
- → How should the pie be served?
Serve chilled or at room temperature, optionally dusted with powdered sugar or fresh berries for a fresh touch.